Are you looking for a solution for a slow running Windows PC? There is one often overlooked method that gives an older PC a boost. Windows ReadyBoost is a simple-to-adopt and affordable solution to speeding up a PC running Windows Vista or later and uses older or slower hard disks. This article explains what ReadyBoost can do, what the requirements are, and how to set it up.
What is ReadyBoost?
Each time your system needs to read or write to the hard disk, there is a delay before the task is complete. ReadyBoost is a feature of Windows that improves the computer’s speed by creating a cache on a flash memory device instead of on the hard disk itself. This cache will store and retrieve data for the Windows system to use more quickly.

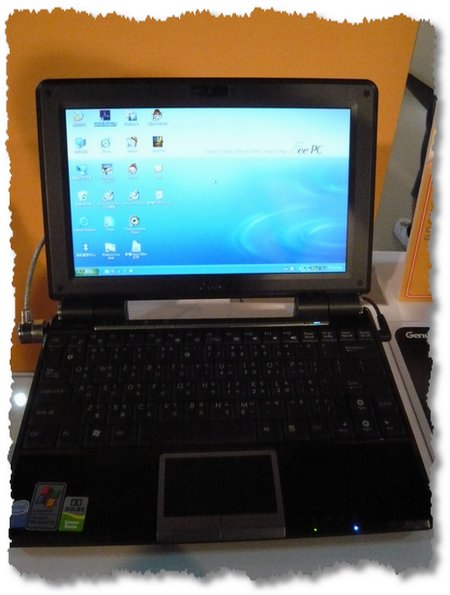
the ‘second’ old PC needs Windows ReadyBoost..
Setting up Windows ReadyBoost on the slower PC is an effective strategy to reducing the typical bottleneck of slower disk speeds caused by frequent usage. Though flash devices can be slower than traditional hard disks in longer or more data intensive tasks, Windows maximizes the performance by choosing where to cache the data. This results in overall snappier responsiveness in your system.
What does ReadyBoost need?
To set up Windows ReadyBoost on your system, you will need a USB flash drive plugged into a USB2.0+ socket. ReadyBoost also works with SD cards and Compact Flash cards through a memory card reader, but Microsoft advises that this may not be as efficient. Your drive or card needs to have a minimum amount of shared space of at least 256MB. However, because the ReadyBoost frequently access the drive or card, I would recommend reserving a thumb drive or card only for that purpose.
Windows ReadyBoost will impact the performance and life of your card, so sharing it for other purposes exposes other data to corruption or loss if the unit fails. Nowadays SD cards and thumb drives are very inexpensive; in fact, there are probably a few suitable ones lying around. If the system is older, or you are not sure about its capabilities, then borrowing a USB drive is the best way to find out if it is compatible with ReadyBoost.
Setting up Windows ReadyBoost
Simply insert the USB thumb drive into the USB slot or push the memory card into the attached reader. Windows will automatically test the drive for ReadyBoost capability. If the device meets the ReadyBoost minimum requirements, Windows will provide an option in ‘Autoplay’ to set it up.
Then open the File Manager and right click on the thumb drive, and open the ‘Properties’ tab. If a ‘ReadyBoost’ tab is located on the properties menu (on the fifth tab, located between ‘Sharing’ and ‘Customize’ on Windows 7, etc.), the computer has recognized the USB key as Windows ReadyBoost compatible.
There are two options to consider for the drive: ‘Dedicate this device to ReadyBoost’ or ‘Use this device.’ There is usually a recommended amount, but it is possible to select up to the maximum reserved space of 4Gb in FAT32 if you choose ‘use this device.’ The ‘dedicate this device’ takes over the entire device regardless of its size, and there are no further options. It is not possible to use more than 4GB on FAT32 due to limitations in the file structure.
After clicking ‘Apply,’ the system will create the cache file on the device and begin to use the space for accessing data. The initial setup may require about 30 seconds to set up, but you should notice an increase in responsiveness on older hardware.
Limitations Do Apply
Lower end or older hardware will experience much bigger improvements than newer machines. But even newer machines will still benefit from a boost. If the system is limited in other ways, then improvement in speed may only be occasional or temporary. New machines running SSDs will probably not experience much of a boost.
As a quick fix, it will extend the life of older hardware, add a little pep to computer performance, and come at little or no extra cost. Money saved! Next!
Postscript
At the suggestion of a ReadyBoost article by TechRepublic, I’m trying out the ‘exFAT’ format instead of NTFS. Give it a whirl! It was quick to reformat…!
